Integrations
Ghost
This guide will walk you through the entire process of integrating fullres with your Ghost blog, including setting up standard tracking, segmenting users, tracking custom events, and logging metadata for posts.
You can also walk through a step by step tutorial at https://fullres-demo.ghost.io/ or follow the video below.
Step 1. Add your site to fullres
Begin by signing up for a fullres account. Simply enter a name for the account, your email and the URL of your Ghost site:

Step 2: Get the tracking code
Copy the JavaScript snippet from the Settings page:

Step 3: Add the tracking code to Ghost
-
Access Your Ghost Admin Panel:
- Log in to your Ghost admin panel.
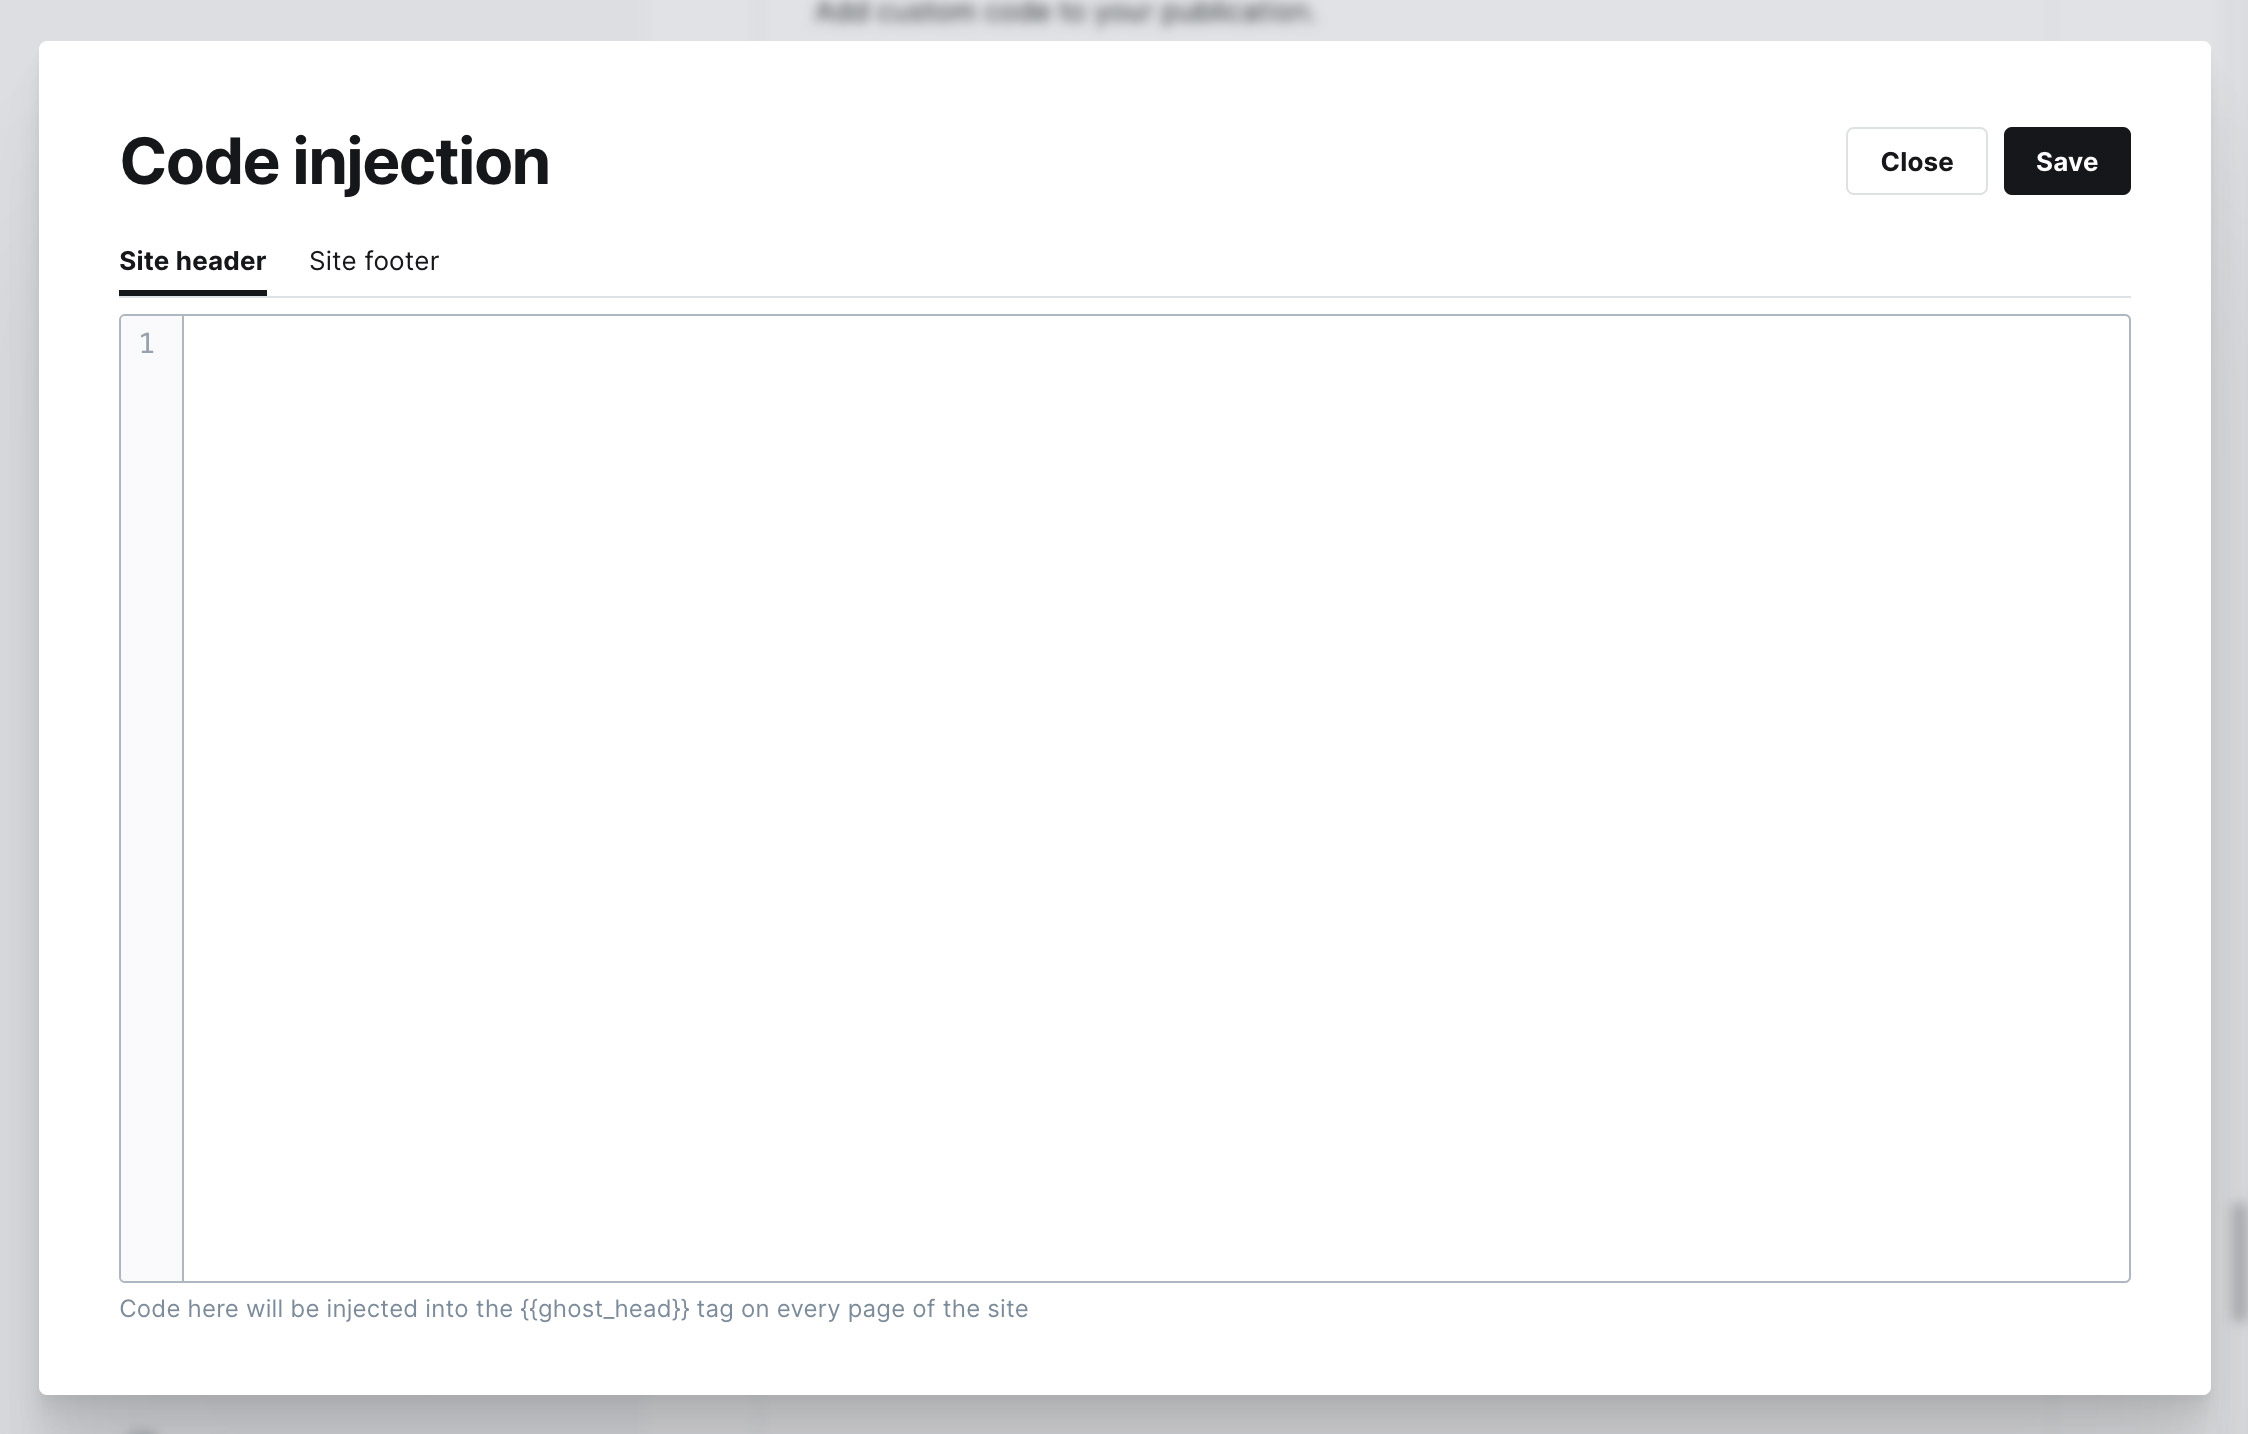
- Navigate to Settings > Code Injection.
-
Inject fullres Script:
- Paste your fullres tracking script into the Site Header section.
-
Click The Save Button
Bonus: Tracking Email Subscription Confirmations and Subscribe Button Clicks in Ghost
In the Site Header section of Code Injection, add the following JavaScript below your site tracking code:
<script>
  window.fullres ||= { events: [] };
  document.addEventListener('DOMContentLoaded', function() {
    const params = new URLSearchParams(window.location.search);
    if (params.get('action') === 'signup' && params.get('success') === 'true') {
      window.fullres.events.push({ key: 'email_subscription_confirmation' });
    }
  });
  const signupButtons = [
    { selector: '[data-portal="signup"]', label: 'header_button' },
    { selector: '[data-testid="portal-trigger-button"]', label: 'floating_button' },
    { selector: '[data-portal=""]', label: 'inline_below_post' }
  ];
  signupButtons.forEach(({ selector, label }) => {
    const button = document.querySelector(selector);
    if (button) {
      button.addEventListener('click', function() {
        window.fullres.events.push({ key: 'subscribe_button_click', properties: { button: label } });
      });
    }
  });
</script>
But wait, there's more!
Segmenting Analytics for Logged In vs. Not Logged In Users
-
Download Your Theme:
- Go to Settings > Theme in your Ghost admin panel.
- Download your current theme.
-
Modify the
default.hbsTemplate:- Extract the downloaded theme and locate
default.hbs. - Open
default.hbsin a text editor and add the following code above the{{ghost_head}}snippet:
<script> window.fullres ||= {events: []}; window.fullres.metadata = { isLoggedIn: {{#if @member}}true{{else}}false{{/if}} }; </script> - Extract the downloaded theme and locate
-
Upload and Activate the Modified Theme:
-
Re-zip the theme directory and upload it back to your Ghost admin panel.
-
Activate the uploaded theme.
-
Logging Custom Metadata for Post Author and Category
-
Modify the
post.hbsTemplate:- Extract the downloaded theme and locate
post.hbs. - Open
post.hbsand add the following code snippet right before the closing{{/post}}tag:
<script> window.fullres ||= {events: [] }; window.fullres.metadata.postCategory = '{{#if primary_tag}}{{primary_tag.slug}}{{else}}null{{/if}}'; window.fullres.metadata.postAuthor = '{{#if primary_author}}{{primary_author.slug}}{{else}}null{{/if}}'; </script> - Extract the downloaded theme and locate
-
Upload and Activate the Modified Theme:
- Re-zip the theme directory and upload it back to your Ghost admin panel.
- Activate the uploaded theme.
Congratulations! Your site is now fully integrated with fullres. Start accessing privacy-focused insights and monitor your Ghost publication's performance from your fullres dashboard.
If you need a hand implementing this, let us know!